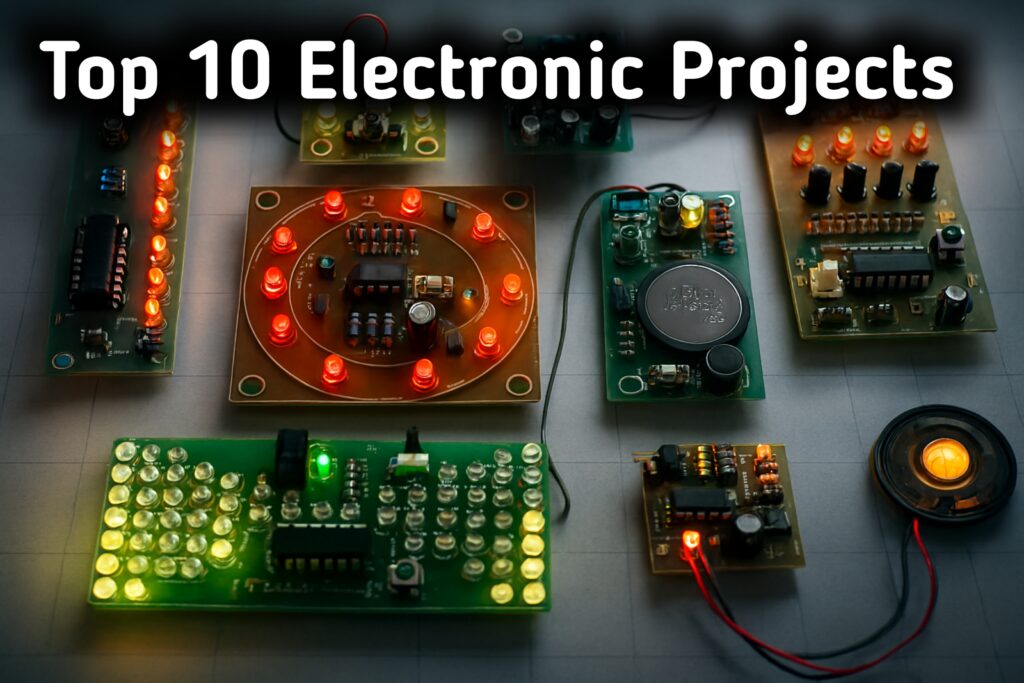
Table of Contents
Introduction
If you’re diving into the world of electronics, one of the first things you’ll need is a reliable power supply. A 12V 1A power supply circuit is one of the most commonly used setups in small electronic projects. Whether you’re powering an Arduino, a relay module, LED strips, or just testing out circuits on a breadboard—having a steady and noise-free 12V DC output is absolutely essential.
In this guide, we’ll walk through a simple yet effective 12V 1A power supply circuit that converts 230V AC (standard mains voltage) into a stable 12V DC. The circuit uses a step-down transformer, a bridge rectifier, some filtering capacitors, and the popular 7812 voltage regulator IC. The beauty of this design is its simplicity, affordability, and reliability—making it perfect for beginners and even for regular bench use by seasoned makers.
Let’s break it down step-by-step.
Components Required
Below is a complete list of components you’ll need to build this circuit:
| S.No | Component Name | Value / Specification | Quantity |
|---|---|---|---|
| 1 | Step-down Transformer | 230V AC to 15V AC, 1A | 1 |
| 2 | Diodes | 1N4007 (for bridge) | 4 |
| 3 | Voltage Regulator IC | 7812 (Positive Regulator) | 1 |
| 4 | Electrolytic Capacitor | 2200µF / 35V | 1 |
| 5 | Ceramic Capacitor | 330nF | 1 |
| 6 | Ceramic Capacitor | 100nF | 1 |
| 7 | Heat Sink | Suitable for TO-220 | 1 |
| 8 | Wires / Connectors | – | As needed |
LM7812 pinout

Circuit Diagram

Circuit Explanation
Let’s walk through the working of the circuit step by step:
1. AC to AC Step-Down with Transformer
The circuit begins with a step-down transformer that reduces 230V AC mains power to 15V AC at 1A. This step is crucial as directly using 230V in low-voltage electronics is not safe or practical.
2. AC to DC Conversion (Rectification)
The 15V AC is then sent to a bridge rectifier made using four 1N4007 diodes. These diodes are arranged to allow only the positive half-cycles of the AC waveform to pass, effectively converting the AC signal into a pulsating DC voltage.
3. Smoothing the DC Signal
After rectification, the output is not yet clean. That’s where the 2200µF electrolytic capacitor (C1) comes in. It acts as a filter, reducing the ripple and smoothing the output to something closer to a DC signal.
4. Voltage Regulation
Now comes the heart of the circuit: the 7812 voltage regulator IC. This 3-pin device regulates the voltage to a stable 12V DC, even if the input voltage varies. It’s built for up to 1A of output current—perfect for small to medium loads.
To improve stability and reduce noise, we add two ceramic capacitors:
- C2 (330nF) is connected to the input of the regulator to smooth out any spikes.
- C3 (100nF) is connected to the output to eliminate high-frequency noise.
5. Heat Dissipation
When the regulator drops voltage from 15V (or higher) down to 12V, it generates heat. So it’s a good idea to attach a heat sink to the 7812 IC to avoid thermal shutdown or damage.
Final Output
At the output, you get a clean and regulated +12V DC at up to 1A, perfect for powering most 12V electronics directly.
Applications of 12V 1A Power Supply
- Power supply for microcontroller boards (like Arduino, PIC, ESP8266)
- Powering 12V LED strips or small lamps
- Battery charging circuits for 12V SLA or Li-ion batteries
- DC motors and relays in automation projects
- Breadboard projects and DIY electronics
- Home automation modules and sensors
- Lab use as a general-purpose DC bench power supply